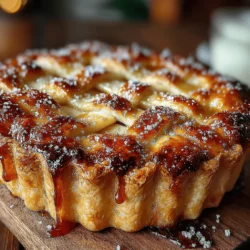
As the leaves begin to turn and the air turns crisp, there’s nothing quite like the inviting aroma of a freshly baked apple pie wafting through your home. Apple pie holds a special place in the hearts of many during the autumn season, symbolizing warmth, comfort, and the joy of bringing family and friends together. This recipe highlights the delightful blend of Granny Smith and Honeycrisp apples, striking the perfect balance between tartness and sweetness, making it an ideal dessert for fall gatherings.
Ingredients
For the Pie Crust
– 2 ½ cups all-purpose flour
– 1 teaspoon salt
– 1 tablespoon granulated sugar
– 1 cup unsalted butter, chilled and diced
– 6 to 8 tablespoons ice water
For the Apple Filling
– 4 medium Granny Smith apples, peeled, cored, and sliced
– 4 medium Honeycrisp apples, peeled, cored, and sliced
– ¾ cup granulated sugar
– ¼ cup brown sugar
– 2 tablespoons all-purpose flour
– 1 teaspoon ground cinnamon
– ¼ teaspoon ground nutmeg
– 1 tablespoon lemon juice
– 1 tablespoon butter, to dot
Instructions
1. Prepare the Pie Crust: In a large mixing bowl, combine the flour, salt, and sugar. Add the chilled, diced butter and mix until the mixture resembles coarse crumbs. Gradually add ice water, one tablespoon at a time, until the dough comes together. Divide the dough in half, shape into discs, wrap in plastic wrap, and refrigerate for at least 1 hour.
2. Prepare the Apple Filling: In another bowl, combine the sliced Granny Smith and Honeycrisp apples. Sprinkle with granulated sugar, brown sugar, flour, cinnamon, nutmeg, and lemon juice. Toss to coat the apples evenly and set aside for about 15 minutes to allow the flavors to meld.
3. Roll Out the Pie Crust: On a lightly floured surface, roll out one disc of the chilled dough to fit a 9-inch pie pan. Carefully transfer the rolled-out crust to the pie pan, pressing it gently into the bottom and sides.
4. Add the Filling: Pour the prepared apple filling into the pie crust, mounding it slightly in the center. Dot with small pieces of butter.
5. Top the Pie: Roll out the second disc of dough and place it over the apple filling. Trim and crimp the edges to seal. Cut several slits in the top crust to allow steam to escape.
6. Bake the Pie: Preheat the oven to 425°F (220°C). Bake the pie for 15 minutes, then reduce the temperature to 350°F (175°C) and continue baking for an additional 35-45 minutes, or until the apples are bubbly and the crust is golden brown.
The Essence of Autumn in a Slice
Baking an apple pie in autumn is more than just preparing a dessert; it’s an experience that taps into the seasonal ingredients that define this time of year. Apples, the star of the show, offer a taste of fall that’s both comforting and nostalgic. The spices, particularly cinnamon and nutmeg, evoke warm memories of family gatherings and festive celebrations. The scent of apple pie baking in the oven can transport you back to childhood, creating a sense of belonging and warmth that is synonymous with the autumn season.
Understanding the Ingredients
Pie Crust Essentials
The foundation of any great apple pie lies in its crust. Using chilled butter is essential for achieving a flaky texture, as it creates steam during baking that helps to lift the layers of the crust. The combination of flour, salt, and sugar balances the flavors and textures, ensuring that the crust is both delicious and sturdy enough to hold the apple filling.
Apple Filling Components
Choosing the right apples is crucial for a balanced flavor profile. Granny Smith apples provide the necessary tartness, while Honeycrisp apples add a touch of sweetness. The sugar not only enhances the natural sweetness of the apples but also helps to create a syrupy filling. Spices such as cinnamon and nutmeg elevate the flavor, while a splash of lemon juice brightens the overall taste, making each bite a delightful experience.
Step-by-Step Guide to Crafting the Perfect Apple Pie
Making the Pie Crust
Creating the perfect pie crust requires a delicate touch. Begin by mixing the dry ingredients before incorporating the chilled butter. It’s important to avoid overworking the dough, as this can lead to a tough texture. Aim for a consistency that resembles coarse crumbs before adding the ice water gradually. Once the dough comes together, chilling is essential for achieving the desired flakiness.
Preparing the Apple Filling
When preparing the apple filling, take care to slice the apples evenly to ensure even cooking. Mixing the apples with sugars and spices allows the flavors to meld beautifully. Allow the filling to sit for a few minutes, as this will help to soften the apples and enhance the overall taste of the pie.
Baking Methods and Temperature Control
Preheating and Baking Techniques
Preheating your oven is a critical step that should never be skipped when baking an apple pie. By preheating, you ensure that the crust begins to cook immediately upon entering the oven, resulting in a flaky and tender texture. It is recommended to set your oven to 425°F (220°C) for the initial bake to achieve that perfect golden crust. After 15-20 minutes, you can lower the temperature to 350°F (175°C) to allow the filling to cook through without burning the crust.
Crust and Filling: Achieving the Ideal Texture
To determine if your pie is done, look for a bubbly filling and a golden-brown crust. The apples should be tender but not mushy, and the juices should be visibly bubbling around the edges. To prevent over-browning of the crust, you can cover the edges with strips of aluminum foil during the last baking stages. This will protect the crust while allowing the filling to finish cooking.
Assembling and Decorating Your Pie
Rolling Out the Dough
When rolling out pie crust, start with a well-chilled dough to make it easier to handle. Dust your work surface with flour to prevent sticking, and roll the dough evenly to about 1/8 inch thick. Use a rolling pin to gently transfer the dough to your pie dish, ensuring it is centered and not stretched or torn during the transfer.
Filling and Sealing
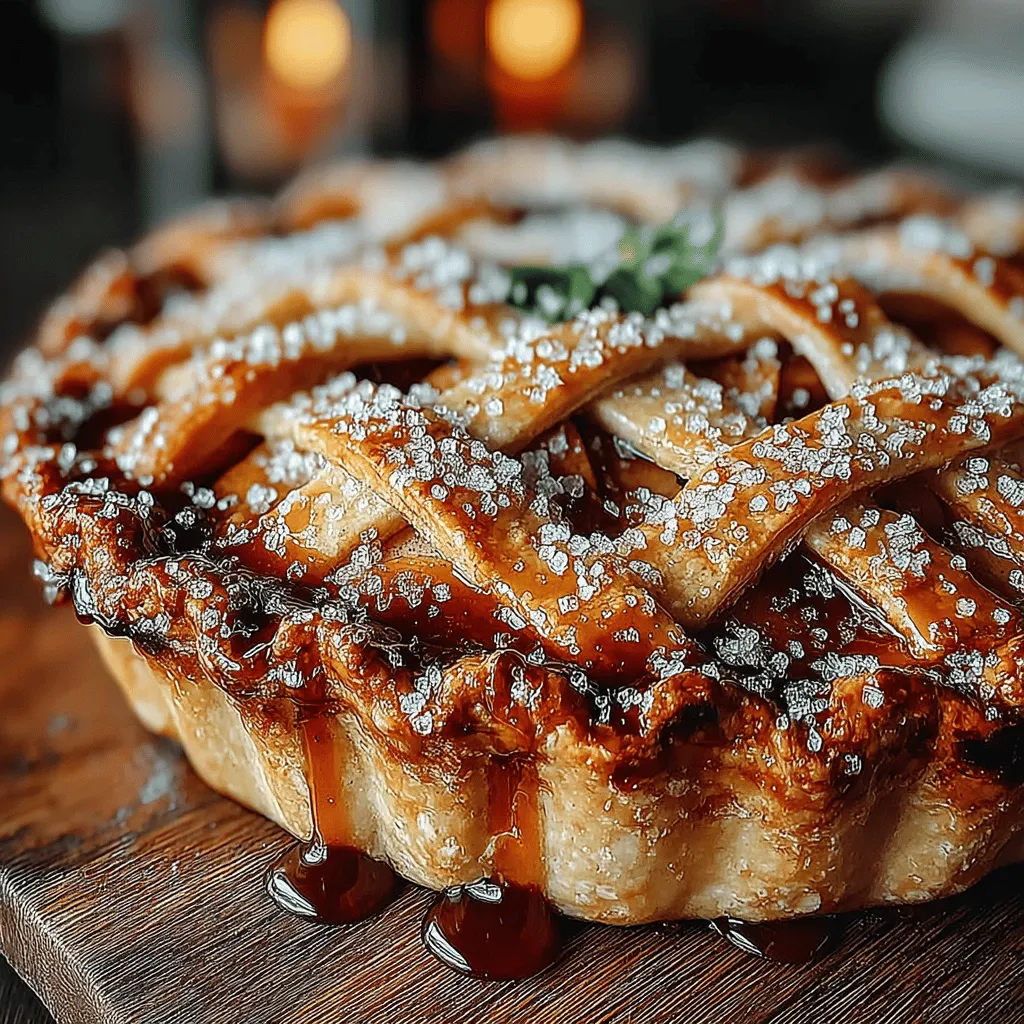
To fill your pie, spoon the apple mixture into the crust, being careful not to overstuff. Leave some space at the top to allow for expansion as the apples cook. Seal the edges by crimping them with your fingers or a fork, and consider creating a decorative top crust. A lattice design not only looks beautiful but also allows steam to escape, preventing the filling from becoming too watery.
Egg Wash for a Golden Finish
Applying an egg wash to your pie before baking is essential for achieving that mouthwatering golden finish. Beat one egg with a tablespoon of water or milk, and brush it over the crust. For added sparkle, sprinkle some sugar over the top before baking. This simple step enhances both the appearance and flavor of your apple pie.
Cooling and Serving Your Apple Pie
The Cooling Process
Once your pie is out of the oven, it is crucial to let it cool for at least two hours. This cooling period allows the filling to set properly, making it easier to slice without spilling. A hot pie may seem tempting to cut into, but patience will reward you with cleaner slices and a more enjoyable eating experience.
Serving Suggestions
Enhance your apple pie experience with a scoop of vanilla ice cream or a dollop of freshly whipped cream. For a touch of warmth, consider serving the pie with a drizzle of caramel sauce or a sprinkle of cinnamon. Additionally, pairing your pie with a cup of spiced cider or coffee can create a delightful autumnal treat.
Conclusion
Baking and sharing an autumn delight apple pie is a beautiful way to celebrate the season with family and friends. This classic dessert embodies the warmth of tradition and the joy of gathering around the table. Embrace the baking process, and allow yourself to create cherished memories with each pie you make. Each bite of this comforting dessert not only satisfies the palate but also brings a sense of nostalgia that will be treasured for years to come.