Introduction
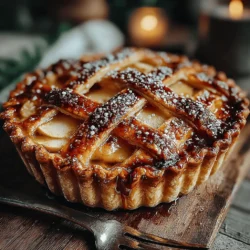
Exploring the comforting world of classic desserts, few dishes evoke nostalgia quite like Grandma’s Heirloom Classic Apple Pie. This recipe combines the tartness of Granny Smith apples with a flaky, buttery crust, creating a dessert that is both timeless and beloved. Whether it’s a family gathering, holiday celebration, or a simple weekend baking project, this apple pie is sure to become a staple in your kitchen. In this article, we will delve into the art of making this cherished dessert, providing a comprehensive guide that covers every step from preparation to serving.
Ingredients
– 6 to 8 medium Granny Smith apples, peeled, cored, and sliced
– 1 cup granulated sugar
– 1/2 cup brown sugar, packed
– 2 tablespoons all-purpose flour
– 1 teaspoon ground cinnamon
– 1/4 teaspoon ground nutmeg
– 1 tablespoon lemon juice
– 1 tablespoon unsalted butter, cut into small pieces
– 1 recipe for pie crust (see below for details)
Instructions
1. Preheat the oven to 425°F (220°C).
2. In a large mixing bowl, combine the sliced Granny Smith apples with granulated sugar, brown sugar, flour, cinnamon, nutmeg, and lemon juice. Toss until the apples are evenly coated.
3. Roll out half of the pie crust on a floured surface to fit a 9-inch pie pan. Carefully transfer the crust to the pie pan, pressing it gently into place.
4. Pour the apple filling into the crust, spreading it evenly. Dot the filling with small pieces of butter.
5. Roll out the second half of the pie crust and place it over the apple filling. Trim any excess dough from the edges and crimp the edges to seal.
6. Cut several slits in the top crust to allow steam to escape during baking.
7. Bake in the preheated oven for 15 minutes. Reduce the temperature to 350°F (175°C) and continue baking for an additional 30 to 35 minutes, or until the apples are tender and the crust is golden brown.
8. Remove from the oven and allow the pie to cool on a wire rack before serving.
Understanding the Essence of Apple Pie
The Historical Significance of Apple Pie
Apple pie has been a staple in American culture since the early colonists brought their pie-making traditions from Europe. It symbolizes home and comfort, often associated with family gatherings and traditions, making it a cherished dessert during holidays and special occasions.
The Importance of Ingredients
The quality of apples is crucial in this recipe, and Granny Smith apples are often the preferred choice due to their tartness and firmness. Fresh ingredients not only enhance the flavor but also contribute to the pie’s overall texture. Additionally, understanding the roles of different sugars and spices is essential for achieving the perfect balance of sweetness and flavor in the filling.
Crafting the Perfect Pie Crust
The Foundation of a Great Pie
The pie crust serves as the foundation for any apple pie, providing both structure and flavor. Selecting the right type of flour and butter is key to achieving a flaky and tender crust.
Step-by-Step Guide to Making the Pie Crust
1. In a mixing bowl, combine all-purpose flour, salt, and sugar.
2. Cut in chilled unsalted butter until the mixture resembles coarse crumbs.
3. Gradually add ice water, mixing until the dough comes together.
4. Divide the dough in half, shape into discs, and refrigerate for at least one hour.
Techniques for Rolling and Shaping the Dough
– Roll out the dough on a floured surface, ensuring an even thickness.
– Transfer the rolled dough to the pie pan carefully to avoid tearing.
– Use crimping techniques to create a decorative edge that also seals the filling inside.
Preparing the Apple Filling
Selecting the Apples
Granny Smith apples are renowned for their tartness and firmness, making them ideal for baking. When preparing the apples, use a sharp peeler for efficient peeling and a mandoline or knife for even slicing.
Mixing the Filling Ingredients
Balancing the sweetness and spice in the filling is key. Granulated sugar provides sweetness, while brown sugar adds depth and moisture. The combination of cinnamon and nutmeg enhances the overall flavor profile, creating a warm and inviting filling that pairs perfectly with the flaky crust.
Tips for Perfecting Your Apple Pie
The Significance of Lemon Juice in Apple Pie
Incorporating lemon juice into your apple pie filling serves two essential purposes. First, it enhances the flavor profile by adding a bright, tangy note that balances the sweetness of the apples. Second, lemon juice helps prevent the apples from browning, ensuring that your filling maintains a fresh and appealing appearance. Aim for about one tablespoon of lemon juice for every five cups of sliced apples to achieve the best results.
Understanding Thickening Agents: When to Add Flour
Choosing the right thickening agent is crucial for achieving the perfect pie consistency. Flour, cornstarch, and tapioca are common options. If you prefer a traditional apple pie, adding flour to the filling before maceration allows it to absorb the juices released by the apples, thickening the filling as it cooks. It’s best to mix the flour with the sugar and spices before incorporating it into the apple mixture to ensure even distribution.
The Maceration Process: Enhancing Flavor
What is Maceration, and Why is it Crucial for the Filling?
Maceration is the process of letting sliced apples sit with sugar and other flavorings, allowing them to release their natural juices. This step is essential for creating a rich and flavorful filling, as it enhances the apples’ taste and helps achieve the desired consistency.
How Long to Let the Apples Sit for Optimal Flavor Enhancement
For optimal results, allow your apples to macerate for at least 30 minutes. This timeframe allows the sugar to draw out the juices, creating a syrupy mixture that will beautifully coat the apples when baked. If time permits, letting the apples sit for up to an hour can further intensify their flavor.
Assembling the Pie
Layering the Components
Pouring the Filling into the Crust: Tips for Even Distribution
When filling your pie crust, take care to distribute the apple mixture evenly. Use a slotted spoon to scoop the apples, allowing excess juice to remain in the bowl. This prevents a soggy bottom and ensures that each slice holds its shape.
Dotting with Butter: Enhancing Richness and Flavor
A few small dots of butter placed on top of the apple filling before adding the top crust can elevate the flavor and create a beautifully rich filling. Aim for about one to two tablespoons of butter, cut into small pieces, for an extra touch of indulgence.
Creating the Top Crust
Techniques for Rolling and Placing the Top Crust
Rolling out the top crust requires even pressure to avoid tearing. Use a lightly floured surface and keep the dough chilled until you’re ready to roll. Once rolled, carefully lift the crust onto the filled pie using a rolling pin or your hands, ensuring it covers the apples completely.
Importance of Venting: Cutting Slits for Steam Release
Venting is essential to prevent the crust from becoming soggy. Use a sharp knife to cut several slits in the top crust, allowing steam to escape during baking. Decorative cuts can also add an appealing touch to your pie.
The Egg Wash: Achieving a Golden, Shiny Finish
Applying an egg wash before baking not only enhances the appearance of your pie but also adds a beautiful golden color. Simply whisk one egg with a tablespoon of water or milk, then brush it over the top crust using a pastry brush.
Baking the Pie
Setting the Right Temperatures
Preheating the Oven: Why It Matters for Baking
Preheating your oven is crucial for an evenly baked pie. A properly heated oven ensures that the crust cooks thoroughly while the filling bubbles away. Aim to preheat to 425°F (220°C) before placing your pie inside.
Understanding the Initial High Temperature and Subsequent Reduction
Start baking your pie at a high temperature for the first 15-20 minutes to set the crust, then reduce the heat to around 350°F (175°C) for the remainder of the baking time. This technique helps achieve a perfectly golden crust while allowing the filling to cook evenly.
Timing and Monitoring the Bake
Visual Cues for Doneness: What to Look For
Your pie is done when the crust is golden brown, and you can see the filling bubbling through the vents. Typically, the baking process takes about 45-60 minutes, but keep an eye on it, as ovens can vary.
The Importance of Using a Baking Sheet to Catch Drips
To avoid a messy oven, place a baking sheet on the rack below your pie to catch any drips. This simple step saves you from a difficult cleanup and ensures your pie maintains its beautiful appearance.
Cooling and Serving the Pie
Why Cooling is Essential
The Science Behind Cooling: Setting the Filling
Cooling your pie is a critical step that allows the filling to set, making it easier to slice. Cutting into a hot pie can result in a runny filling, so patience is key.
Recommended Cooling Times Before Slicing
Allow your pie to cool at room temperature for at least two hours before serving. This time frame ensures that the filling has thickened properly, resulting in a more satisfying slice.
Presentation Ideas
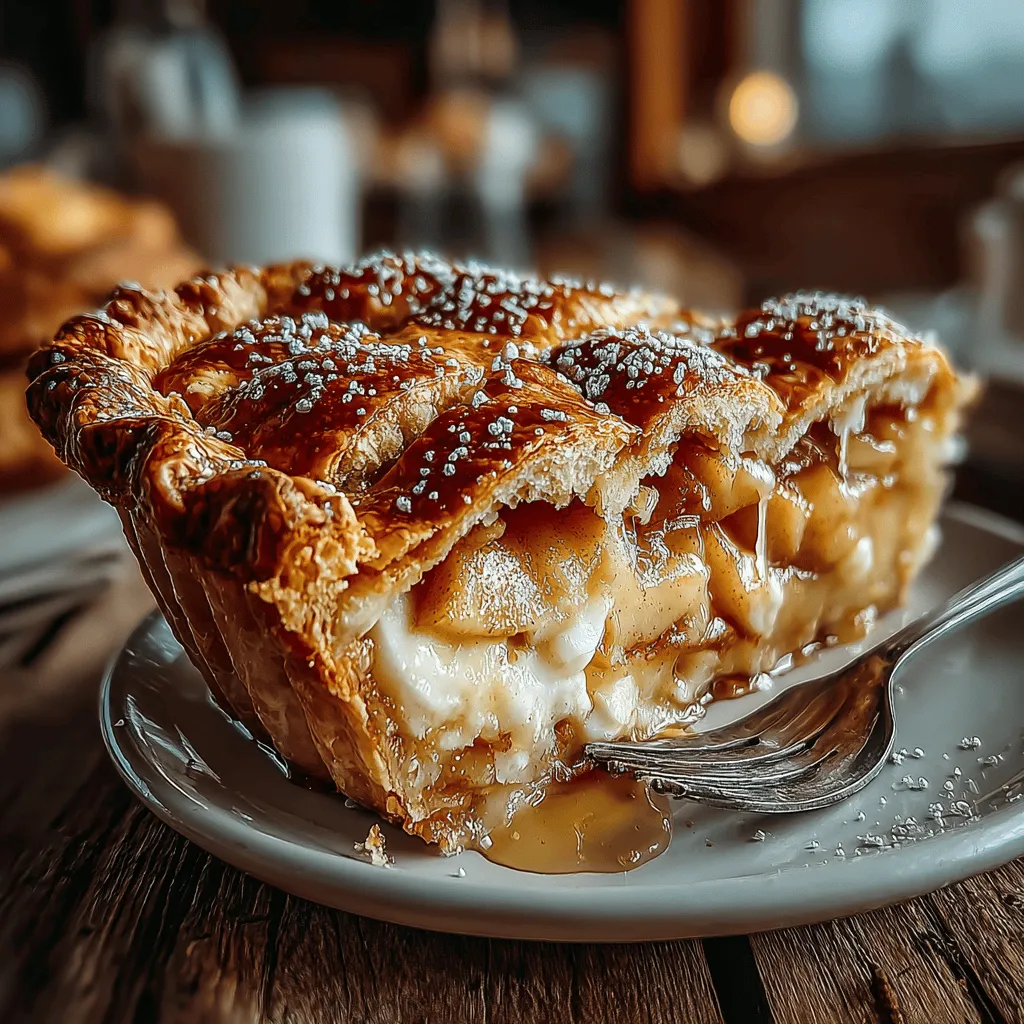
Serving Suggestions: Warm vs. Room Temperature
Apple pie can be enjoyed warm or at room temperature, depending on personal preference. Serve slices directly from the pie dish or on individual plates for a more formal presentation.
Pairing Options: Vanilla Ice Cream, Whipped Cream, or Cheese
Enhance your apple pie experience by pairing it with a scoop of vanilla ice cream, a dollop of whipped cream, or a slice of sharp cheddar cheese. Each option adds a unique flavor profile that complements the sweetness of the pie.
Conclusion
Grandma’s Heirloom Classic Apple Pie is more than just a dessert; it is a connection to our past and a celebration of family traditions. Each step of the recipe, from crafting the perfect crust to preparing the flavorful filling, contributes to the pie’s delightful outcome. By following this comprehensive guide, you can recreate this classic dish in your own kitchen, ensuring that every bite is filled with love and nostalgia. Embrace the joy of baking and share this timeless recipe with those you cherish, creating new memories along the way.