Introduction
In recent years, no-churn ice cream has taken the culinary world by storm, captivating dessert enthusiasts with its ease of preparation and rich, creamy texture. For those who crave the indulgence of homemade ice cream but lack an ice cream maker, no-churn ice cream offers a perfect solution. It allows anyone to whip up a delightful frozen treat without the need for specialized equipment, making it an accessible option for both novice and experienced home cooks.
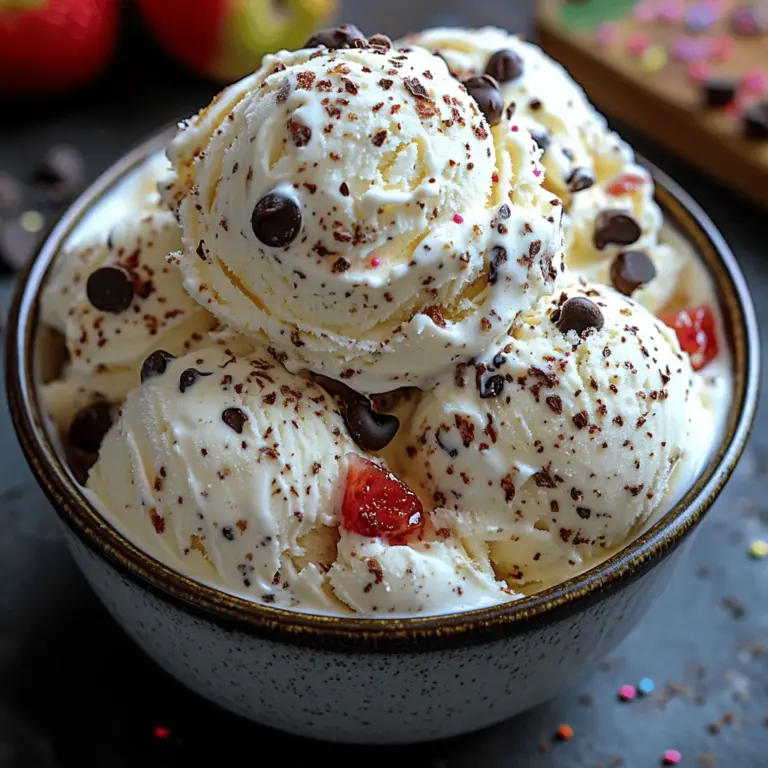
Enter the “Creamy Dreamy No-Churn Ice Cream” recipe—a straightforward yet delectable dessert that promises to satisfy your sweet tooth. This ice cream is not just about convenience; it boasts a luxuriously creamy texture and a flavor profile that can be tailored to suit your personal tastes. Whether you prefer classic vanilla, rich chocolate, or fruity variations, this recipe invites you to get creative with mix-ins, allowing for a unique dessert experience every time.
Understanding No-Churn Ice Cream
No-churn ice cream is a delightful alternative to traditional ice cream, which typically requires a machine to churn and freeze the mixture to achieve that smooth, creamy consistency. Instead of relying on an ice cream maker, this innovative method combines a few simple ingredients that, when mixed and frozen, create a luscious dessert that rivals any artisanal ice cream shop.
One of the main benefits of making no-churn ice cream at home is its simplicity. The recipe does not require any special equipment, making it perfect for those who may not have an ice cream maker or simply prefer a fuss-free approach to dessert. Additionally, the preparation process is quick and straightforward, allowing for a batch of ice cream to be ready in just a few hours.
The key to achieving the perfect texture and taste in no-churn ice cream lies in the quality of the ingredients used. Heavy whipping cream, sweetened condensed milk, and pure vanilla extract are essential components that contribute to the ice cream’s creamy consistency and rich flavor. When combined properly, these ingredients create a base that can be easily customized with various mix-ins, resulting in a unique treat tailored to your preferences.
Ingredients Breakdown
To create the Creamy Dreamy No-Churn Ice Cream, you’ll need a handful of simple yet effective ingredients. Each plays a crucial role in achieving that rich, creamy texture and delightful flavor that makes this dessert so irresistible.
1. Heavy Whipping Cream: The star ingredient of this recipe, heavy whipping cream, is essential for achieving the desired creaminess. With a high fat content, it whips up beautifully to form stiff peaks, which provide the body and smoothness characteristic of ice cream. Using quality heavy cream ensures a rich mouthfeel and enhances the overall taste of your dessert.
2. Sweetened Condensed Milk: This ingredient serves two important functions: it provides sweetness and contributes to the ice cream’s creamy texture. The thick, syrupy consistency of sweetened condensed milk helps to keep the ice cream soft and scoopable, even after freezing. It’s a magical ingredient that elevates the flavor profile, making this dessert incredibly indulgent.
3. Vanilla Extract: To enhance the flavor of your no-churn ice cream, incorporating pure vanilla extract is a must. Vanilla adds a warm, aromatic note that complements the creaminess of the base. For the best results, opt for quality extracts rather than imitation vanilla, as they offer a richer flavor that can transform your ice cream into a gourmet treat.
4. Semi-Sweet Chocolate Chips or Mix-Ins: One of the highlights of this recipe is its versatility. You can customize your no-churn ice cream by adding semi-sweet chocolate chips or any mix-ins of your choice. Whether you prefer crushed cookies, fresh fruits, or nuts, these additions not only enhance the flavor but also provide delightful texture contrasts.
5. Pinch of Salt: A small pinch of salt is essential to balance the sweetness of the ice cream. It enhances the overall flavor and brings out the richness of the cream and condensed milk, ensuring that every bite is perfectly balanced.
6. Suggestions for Alternative Mix-Ins: The beauty of this no-churn ice cream recipe lies in its adaptability. Feel free to explore different mix-ins to personalize your dessert. Some popular options include fresh berries, crushed candy bars, chopped nuts, or even swirls of caramel or fudge. The possibilities are endless, allowing you to create a flavor combination that excites your palate.
Step-by-Step Instructions
Creating your Creamy Dreamy No-Churn Ice Cream is an enjoyable process that requires just a few simple steps. Here’s a comprehensive guide to ensure you achieve the perfect ice cream every time.
1. Whipping the Cream: Start by pouring the heavy whipping cream into a large mixing bowl. Using an electric mixer or a whisk, beat the cream on medium-high speed until it begins to thicken. As the cream starts to form soft peaks, increase the speed to high and continue whipping until stiff peaks form. This step is crucial, as the whipped cream will provide the volume and structure needed for the ice cream. Be careful not to overwhip, as this can lead to a grainy texture.
With the right technique, you’ll achieve a light and airy whipped cream that will serve as the foundation for your no-churn ice cream.
2. Mixing in Sweetened Condensed Milk: In a separate bowl, combine the sweetened condensed milk and vanilla extract. Stir until well mixed. Gently fold this mixture into the whipped cream using a spatula. It’s important to fold rather than stir to maintain the airy texture of the whipped cream. Continue folding until no streaks remain, and the mixture appears uniform and creamy.
3. Adding Mix-Ins: Now comes the fun part—customizing your ice cream! If you’re using chocolate chips or any other mix-ins, gently fold them into the ice cream mixture at this stage. Be sure to distribute them evenly throughout the base for a consistent flavor in every scoop.
4. Freezing the Ice Cream: Once your mixture is fully combined, transfer it into a freezer-safe container. Smooth the top with a spatula for an even surface. Cover the container with a lid or plastic wrap to prevent ice crystals from forming. Place it in the freezer for at least 4-6 hours, or until the ice cream is firm and scoopable.
These initial steps set the stage for an indulgent, creamy dessert that is sure to please everyone. As you prepare your no-churn ice cream, get ready to experiment with flavors and mix-ins, and enjoy the process of creating a delicious treat right in your own kitchen.
{{image_1}}
Combining Ingredients
Once you’ve prepared your base mixture of sweetened condensed milk, whipped cream, and vanilla extract, the next crucial step is to combine these ingredients correctly. The importance of gentle mixing cannot be overstated, as this process significantly influences the final texture of your ice cream. The goal is to maintain the airiness of the whipped cream, which lends that dreamily light consistency to your frozen treat.
When you’re ready to combine your ingredients, start by pouring the sweetened condensed milk into a large mixing bowl. Then, add a generous dollop of the whipped cream. Use a rubber spatula to gently fold the whipped cream into the condensed milk. This initial mix helps to lighten the condensed milk, making it easier to incorporate the rest of the whipped cream without deflating it.
Folding Technique
The folding technique is essential for achieving a light and fluffy ice cream. To fold properly, use a spatula to scoop from the bottom of the bowl and lift the mixture while rotating the bowl. Think of it as a gentle hugging motion rather than vigorous stirring. This method allows you to combine the ingredients without losing the air that you’ve painstakingly whipped into the cream.
As you fold, be mindful of the texture. You want a uniform mixture that still has a light, airy quality. If you notice any streaks of whipped cream or condensed milk, gently continue folding until the mixture is homogenous. Avoid overmixing, as this can lead to a dense final product that lacks the creamy texture we’re aiming for.
Incorporating Mix-ins
Incorporating mix-ins is where the fun begins, as this is your chance to personalize your no-churn ice cream! Whether you’re adding chocolate chips, crushed cookies, or fresh fruit, the key is to distribute these ingredients evenly throughout the mixture.
To incorporate mix-ins, first, ensure they are properly prepared. For fruits, chop them into small, bite-sized pieces. For cookies or chocolates, a rough chop or crush will work well. After folding your base mixture, gently add the mix-ins by sprinkling them across the surface of the ice cream base. Using your spatula, fold the mix-ins into the mixture just until evenly distributed. Aim for a good balance—too many mix-ins can overpower the creamy base, while too few might leave you wanting more flavor in every scoop.
Visual Cues for Textures and Consistencies
As you work through the mixing and folding stages, pay attention to the visual cues that indicate the correct textures and consistencies. The mixture should appear light and fluffy, with a glossy sheen. When you lift your spatula from the bowl, the mixture should hold peaks but still flow slowly, resembling soft peaks in whipped cream.
If you find that the mixture is too runny, it may have been overmixed or not enough cream was incorporated. On the other hand, if it looks clumpy or grainy, you might need to fold more gently to incorporate everything smoothly. Trust your instincts and don’t hesitate to adjust your technique as necessary!
Freezing and Serving
Once your mixture is perfectly combined, it’s time to transfer it to a container for freezing. Choose an airtight container that’s suitable for freezing, preferably one with a tight-fitting lid to prevent ice crystals from forming. Gently pour or scoop the mixture into the container, using the spatula to smooth the top for an even surface.
When freezing, it’s crucial to know the optimal time for your ice cream to set. Generally, no-churn ice cream takes about 4-6 hours to freeze completely, but overnight is ideal for achieving the best texture. To check if the ice cream is ready, insert a knife or spoon into the center. If it comes out clean and the mixture is firm but still scoopable, it’s ready to serve.
For serving, consider creative ways to present your homemade ice cream. Classic options include serving it in bowls or cones, but you can elevate the experience by adding toppings such as chocolate syrup, sprinkles, or fresh fruit. Additionally, consider garnishing with fresh mint leaves or a dusting of cocoa powder for an elegant touch.
Flavor Variations and Customizations
One of the most appealing aspects of making no-churn ice cream is the endless possibilities for flavor variations. While chocolate chips are a classic choice, don’t hesitate to experiment with these creative options:
– Fruit-based Versions: Infuse your ice cream with the fresh flavors of seasonal fruits. Blend strawberries, mangoes, or blueberries into a puree and fold it into the base mixture. For a more textured fruit ice cream, simply add chopped fruits directly to the mixture.
– Nutty Options: Enhance the flavor with nuts such as almonds, pecans, or walnuts. Toast the nuts lightly before adding them for an extra crunch and depth of flavor. Just be sure to chop them finely to ensure even distribution.
– Unique Combinations: Get adventurous by combining flavors that might surprise you, like matcha green tea powder for a refreshing twist or crushed cookies for a cookies-and-cream delight.
– Seasonal Variations: Tailor your ice cream to fit holidays or special occasions. Pumpkin spice ice cream can bring warmth to fall, while peppermint ice cream can be a festive treat during winter celebrations.
Storage Tips and Shelf Life
To maximize the freshness of your no-churn ice cream, proper storage is key. Keep your ice cream in an airtight container to prevent ice crystals from forming, which can lead to a gritty texture. If you have the space, consider placing a piece of parchment paper directly on the surface of the ice cream before sealing the container. This extra layer can help reduce air exposure.
Homemade no-churn ice cream typically lasts for about 2-3 weeks in the freezer. However, for the best flavor and texture, aim to consume it within the first week. Signs of spoilage to look for include an off smell or unusual texture. If you notice any frost or ice crystals forming, it’s best to discard the ice cream to ensure you’re enjoying it at its finest.
Conclusion
Making creamy, dreamy no-churn ice cream at home is an incredibly rewarding experience that requires minimal effort and ingredients. The joy of crafting your unique flavors and textures allows for creativity in the kitchen, making it a perfect family activity or a delightful project for yourself.
This recipe not only satisfies your sweet tooth but also encourages you to experiment with different mix-ins and flavor combinations. Share your creations with friends and family, and relish the satisfaction of enjoying a delicious dessert that you made from scratch. Whether you’re hosting a summer gathering or simply indulging after a long day, this no-churn ice cream recipe is sure to become a staple in your home. So, roll up your sleeves, gather your ingredients, and embark on your ice cream-making journey today!
