Back-to-School Dream Cookies: A Tasty Treat for the New School Year
As the summer days fade and the back-to-school season approaches, parents and kids alike find themselves in a whirlwind of preparation—shopping for supplies, organizing schedules, and adjusting to new routines. Amidst this busy time, it can be a challenge to find snacks that are not only delicious but also convenient and nourishing. Enter the Back-to-School Dream Cookies—an enticing solution that combines fun flavors with wholesome ingredients, perfect for lunchboxes or after-school treats.
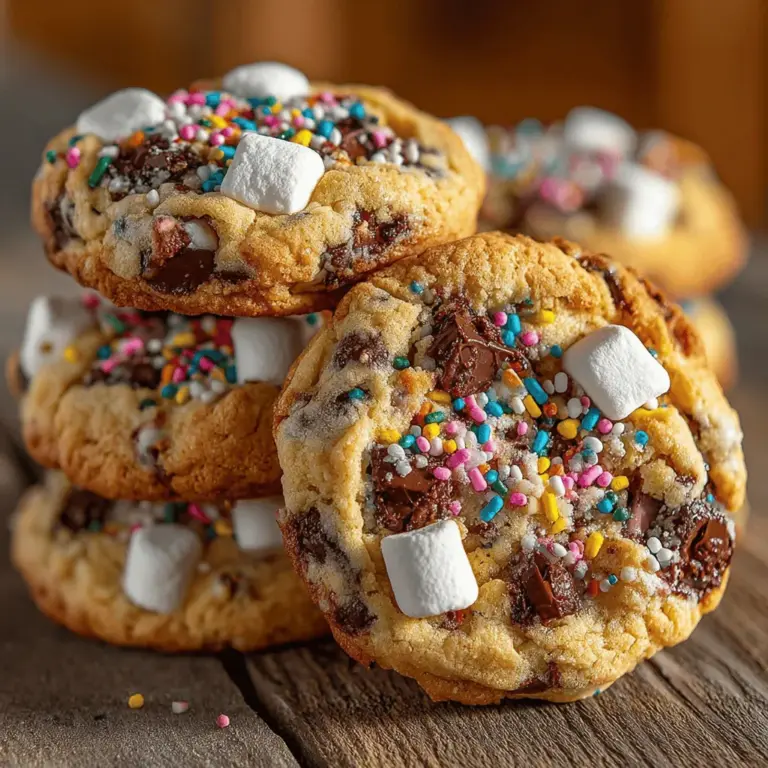
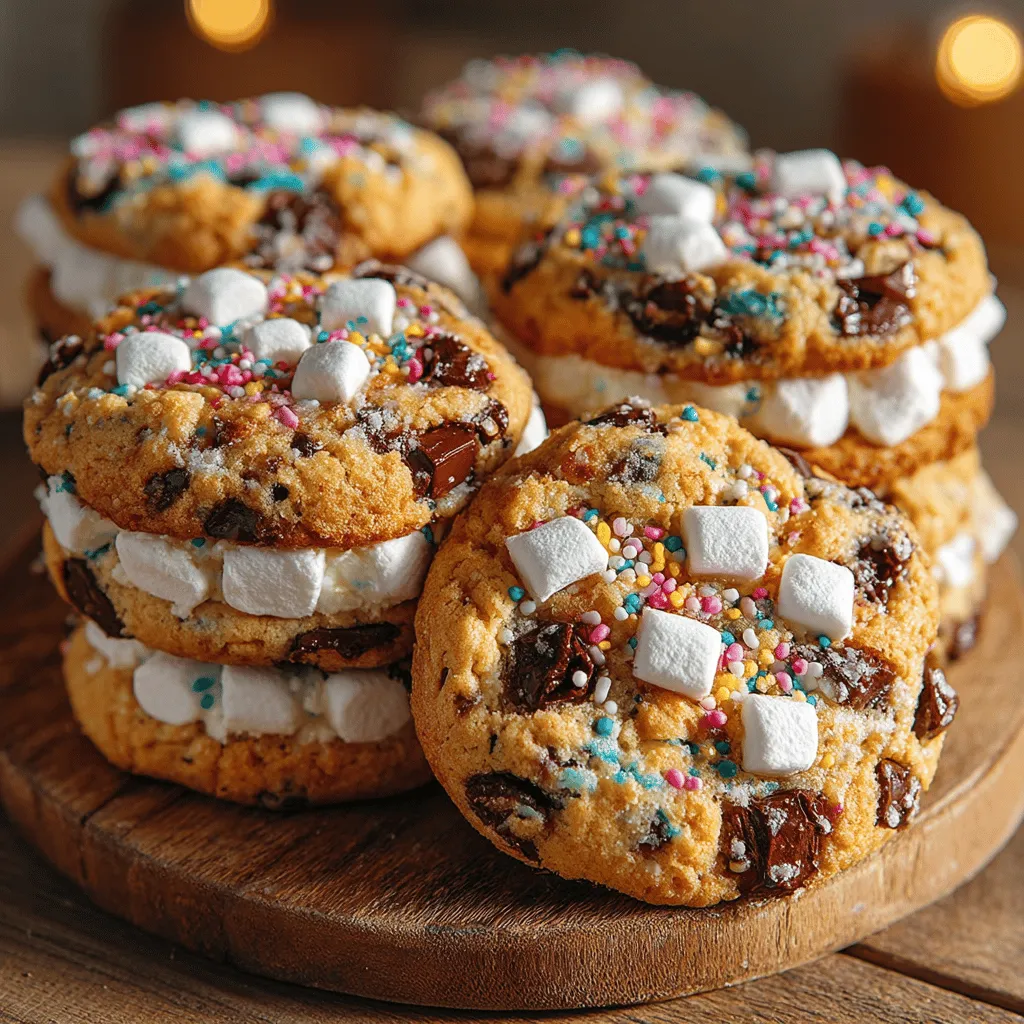
These cookies are more than just a sweet indulgence; they’re designed to ignite excitement in students of all ages. With a delightful mix of oats, rich chocolate chips, and fluffy mini marshmallows, they provide a burst of energy while satisfying those sweet cravings. But what truly sets these cookies apart is their versatility. They can be easily customized to suit individual preferences, making them a hit with the whole family.
The Allure of Back-to-School Dream Cookies
Cookies have held a special place in school culture for generations. Whether as a reward for good grades, a comforting treat after a long day, or a nostalgic reminder of childhood, they evoke fond memories and a sense of togetherness. The aroma of freshly baked cookies wafting through the kitchen can transport us back to simpler times, reminding us of family baking sessions and school events where homemade goodies were the stars.
Moreover, preparing these cookies together can foster family bonding. Involving children in the baking process teaches them valuable skills, encourages creativity, and creates lasting memories. The excitement of waiting for the cookies to bake and the joy of sharing them with friends and family makes this recipe an ideal choice for the back-to-school season.
Ingredients Breakdown
Before diving into the preparation of these scrumptious Back-to-School Dream Cookies, it’s essential to understand the role of each ingredient. Here’s a breakdown of the staple components that contribute to their delightful flavor and texture:
– Unsalted Butter: The foundation of any great cookie, quality fat is crucial in baking. Unsalted butter allows for better control of the overall salt content in the recipe while also adding richness and a tender crumb to the cookies.
– Brown and Granulated Sugar: This combination strikes the perfect balance between moisture and sweetness. Brown sugar adds a hint of caramel flavor and helps to create a chewy texture, while granulated sugar contributes to the cookies’ spread and crispness.
– Eggs: Eggs serve multiple purposes in baking. They act as a binding agent, ensuring the ingredients hold together, while also providing leavening that helps the cookies rise.
– Vanilla Extract: Enhancing the overall flavor profile, pure vanilla extract adds depth and warmth to the cookies, making each bite more enjoyable.
– Flour, Baking Soda, and Salt: These ingredients form the base of the cookie dough. Flour provides structure, baking soda helps with leavening, and a pinch of salt balances the sweetness.
– Oats: Not only do oats contribute to the cookies’ chewy texture, but they also add nutritional value, offering fiber and a satisfying heartiness.
– Chocolate Chips and Mini Marshmallows: The star ingredients that add sweetness and fun. Chocolate chips melt into gooey pockets of chocolate, while mini marshmallows create delightful bursts of fluffiness.
– Optional Nuts: For those who enjoy a bit of crunch, adding nuts such as walnuts or pecans can enhance the flavor and nutrition of the cookies.
– Sprinkles: A festive touch that adds visual appeal, sprinkles can make these cookies even more exciting, especially for kids.
Preparation Steps for Perfect Cookies
Now that we have a clear understanding of the ingredients, it’s time to dive into the preparation process. Following these steps ensures that your Back-to-School Dream Cookies turn out perfectly every time.
Preheating the Oven: The Importance of Temperature in Baking
Before you begin mixing ingredients, it’s vital to preheat your oven to the right temperature—usually around 350°F (175°C) for cookies. Preheating ensures that the cookies start baking immediately once they’re placed in the oven, promoting even cooking and preventing them from spreading too much. Proper baking conditions are crucial not only for achieving the desired texture but also for ensuring a golden-brown finish.
Creaming Method: Achieving the Right Dough Consistency
The creaming method is a fundamental step in cookie baking that involves beating together the unsalted butter and sugars until light and fluffy. This process incorporates air into the mixture, which will help the cookies rise during baking. It’s essential to beat the mixture for about 2-3 minutes, scraping down the sides of the bowl as needed. The result should be a pale, airy mixture that will create a tender cookie texture.
Mixing Dry and Wet Ingredients: Techniques for Best Results
Once the butter and sugars are creamed, it’s time to incorporate the eggs and vanilla extract into the wet mixture. Beat until combined, then slowly add the dry ingredients—flour, baking soda, and salt. It’s crucial to blend these carefully to avoid overmixing, which can lead to tough cookies. Mix just until the dry ingredients are incorporated, and the dough begins to come together.
Incorporating Mix-ins: A Guide to Personalization
The final step in preparing your cookie dough is to fold in the oats, chocolate chips, mini marshmallows, and any optional nuts or sprinkles. This is where the fun begins! Feel free to customize the mix-ins based on your family’s preferences. For example, you could use white chocolate chips instead of dark, or add dried fruit for an extra nutritional boost. Gently fold the ingredients into the dough, being careful not to overwork it.
With the dough ready, you’re all set to scoop and bake these delightful Back-to-School Dream Cookies. As the cookies bake, your home will fill with an irresistible aroma that signals the start of a new school year filled with delicious treats and cherished memories. Stay tuned for the next part, where we’ll guide you through the baking process and share tips for perfecting these crowd-pleasers.
Tips on How to Evenly Distribute Oats, Chocolate Chips, and Marshmallows
When it comes to baking the perfect Back-to-School Dream Cookies, even distribution of ingredients is key to achieving that delightful texture and flavor balance. Here are some effective tips to ensure that oats, chocolate chips, and marshmallows are evenly distributed throughout the cookie dough:
Scooping and Spacing: Ensuring Uniform Baking
1. Measure Ingredients Accurately: Use a kitchen scale for precise measurements. This helps ensure that every cookie has the same quantity of oats, chocolate chips, and marshmallows.
2. Mix Ingredients in Stages: Start by mixing dry ingredients together, followed by the wet ingredients. Once combined, fold in oats, chocolate chips, and marshmallows gently. This prevents overmixing, which can lead to tough cookies.
3. Use a Cookie Scoop: A cookie scoop aids in portioning out the dough uniformly. This ensures that each cookie is consistent in size, promoting even baking.
4. Toss Ingredients Before Adding: Before adding oats, chocolate chips, and marshmallows to the dough, toss them in a little flour. This helps prevent them from sinking to the bottom and promotes better distribution throughout the cookie.
Importance of Spacing and How It Affects Cookie Shape and Texture
Spacing your cookies on the baking sheet is crucial for achieving the ideal cookie shape and texture. Here’s why:
– Air Circulation: Cookies need space to spread while baking. If they are too close together, they can merge into one another, resulting in a giant cookie. Aim for at least 2 inches between each scoop of dough.
– Even Baking: Proper spacing allows hot air to circulate around each cookie, ensuring they bake evenly. Cookies that are too close may have raw centers or unevenly cooked edges.
– Texture and Crispness: Cookies that have ample space around them will develop a crispier edge while remaining soft in the center. This contrast in texture is what makes a perfect cookie experience.
Baking Time: The Art of Knowing When to Pull Them Out
Understanding the baking time is essential to achieving that perfect cookie. Here are some visual cues to help you determine when your Back-to-School Dream Cookies are ready to come out of the oven:
1. Golden Edges: The cookies should have a light golden hue around the edges. This indicates that they are beginning to set and develop that delightful crispy texture.
2. Soft Centers: While the edges should be golden, the centers of the cookies should still appear soft and slightly underbaked. They will continue to cook on the baking sheet once removed from the oven.
3. Slightly Puffed: A perfectly baked cookie will often puff up slightly in the oven. Look for a slight dome shape, which indicates that the baking powder is doing its job.
Cooling and Storing Your Cookies
Understanding the Cooling Process
Proper cooling is essential for achieving the right texture in your Back-to-School Dream Cookies. Here’s why:
– Setting the Structure: Cookies continue to cook even after being removed from the oven due to residual heat. Allowing them to cool on a wire rack helps them set without becoming too hard.
– Avoiding Sogginess: If you leave cookies on a hot pan, the trapped steam can create a soggy bottom. Transferring them to a wire rack allows air to circulate and maintain that delicious crunch.
Best Practices for Storing Cookies
1. Keeping Cookies Fresh for School Lunches: Store your cookies in an airtight container at room temperature. Layer parchment paper between cookie layers to prevent them from sticking together. This method keeps them fresh for up to a week.
2. Exploring Options for Freezing Excess Cookies: If you have extra cookies, freezing them is a great option. Here’s how:
– Freeze Before Baking: Scoop cookie dough onto a baking sheet and freeze until solid, then transfer the dough balls to a freezer-safe bag. You can bake them directly from the freezer; just add a couple of extra minutes to the baking time.
– Freeze Baked Cookies: Allow the cookies to cool completely, then place them in a single layer in a freezer-safe container or bag. They can be frozen for up to three months. To enjoy, just thaw them at room temperature or warm them in the oven for a few minutes.
Nutritional Benefits of Back-to-School Dream Cookies
Balancing Indulgence with Nutrition
While these cookies are undeniably a treat, they offer nutritional benefits thanks to their wholesome ingredients. Here’s a closer look at their nutritional profile:
– Oats: Packed with fiber, oats help keep you full and provide sustained energy. They also contain important vitamins and minerals, contributing to overall health.
– Nuts: If you choose to include nuts in your recipe, they add healthy fats, protein, and additional fiber. Nuts can also enhance the flavor profile of your cookies.
Customizing for Dietary Needs
1. Gluten-Free Options: If you or your loved ones are gluten-sensitive, you can easily adapt this recipe. Substitute all-purpose flour with gluten-free flour blends available in most grocery stores. Be sure to check that your oats are certified gluten-free.
2. Vegan Alternatives: To make your cookies plant-based, swap out butter for coconut oil or a plant-based butter alternative. Use flaxseed meal mixed with water as an egg substitute (1 tablespoon flaxseed meal + 2.5 tablespoons water = 1 egg). These modifications will keep the cookies delicious and suitable for vegan diets.
Creative Variations of Dream Cookies
Exploring Flavor Profile Adjustments
Don’t hesitate to get creative with your Back-to-School Dream Cookies! Here are a few ideas to switch things up:
1. Fruit Substitutions: Consider replacing chocolate chips with dried fruits like cranberries, raisins, or chopped apricots for a chewy texture and a burst of natural sweetness.
2. Spice It Up: Adding spices such as cinnamon or nutmeg can elevate the flavor profile. A teaspoon of cinnamon pairs wonderfully with the oats and adds warmth to the cookies.
Seasonal Inspirations
Embrace the seasons by adapting your cookie recipe to reflect holidays or celebrations. Here are some fun ideas:
– Halloween: Incorporate orange and black sprinkles or mini chocolate pumpkins for festive flair.
– Christmas: Add peppermint extract or crushed candy canes for a refreshing twist during the holiday season.
Conclusion
Back-to-School Dream Cookies are not just a simple treat; they are a celebration of flavors and memories that can brighten any school day. With their delightful combination of textures and tastes, these cookies offer a perfect balance of indulgence and nutrition, making them an ideal addition to lunchboxes or after-school snacks. By following the steps outlined in this article, you can create a batch of these delicious cookies that your family will love while also customizing them to fit your dietary preferences. Embrace the back-to-school spirit with these sweet delights, and enjoy the smiles they bring to your loved ones. Whether you’re baking for a busy week ahead or just looking for something to brighten up your afternoon, these cookies are sure to please. Happy baking!
