Introduction
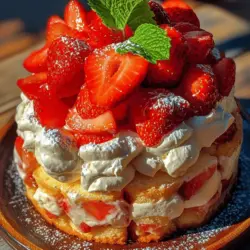
If you’re searching for a dessert that embodies the essence of summer, look no further than the Strawberry Dream Cream Cake. This delectable creation is a perfect balance of lightness, fruity freshness, and creamy indulgence. With layers of fluffy vanilla cake, luscious strawberry filling, and a rich whipped cream frosting, each bite is a delightful experience that tantalizes the taste buds. The Strawberry Dream Cream Cake is not just a treat; it’s a celebration of seasonal ingredients, showcasing the best of fresh strawberries at their peak ripeness.
Baking at home has a unique charm, especially when using fresh, seasonal ingredients. There’s something incredibly satisfying about transforming simple ingredients into a beautiful, mouth-watering dessert that can be shared with friends and family. This cake not only looks impressive but also tastes divine, making it the ideal centerpiece for birthdays, picnics, or any special occasion.
In this article, we will explore the key ingredients that make this cake a standout, the essential tools you’ll need, and the first steps to creating your very own Strawberry Dream Cream Cake.
Understanding the Ingredients
To create the perfect Strawberry Dream Cream Cake, it’s essential to understand the role of each ingredient involved in the recipe. Here’s a detailed look at what you’ll need:
All-Purpose Flour
All-purpose flour is the backbone of any cake, providing the necessary structure to hold the cake together. It’s versatile and creates a balanced texture that isn’t too dense or too crumbly. When measuring flour, be sure to spoon it into your measuring cup and level it off for accuracy.
Granulated Sugar
Granulated sugar contributes sweetness and moisture to the cake. It not only sweetens the batter but also helps in achieving a tender crumb by attracting moisture. When whipped with butter, sugar helps to create air pockets, leading to a light and fluffy texture.
Baking Powder and Baking Soda
Baking powder and baking soda are crucial leavening agents that ensure your cake rises properly. They create carbon dioxide gas when reacting with moisture and heat, which helps the cake achieve that desirable light and airy texture. It’s important to measure these ingredients accurately, as too much or too little can affect the cake’s height and texture.
Salt
Salt may seem like a small addition, but it plays a vital role in enhancing the flavors of the other ingredients. A pinch of salt balances the sweetness and brings depth to the cake, making it more flavorful overall.
Unsalted Butter
Unsalted butter adds richness and moisture to the cake. Using unsalted butter allows you to control the amount of salt in your recipe, ensuring a perfectly balanced flavor. When creamed with sugar, butter helps to create a light and airy batter, resulting in a tender cake.
Buttermilk
Buttermilk is a key ingredient that adds both tenderness and a slight tang to the cake. The acidity in buttermilk reacts with the baking soda, contributing to the leavening process and ensuring a soft texture.
Eggs
Eggs serve as a binding agent in the cake, helping to hold all the ingredients together. They also add moisture and richness, contributing to the overall flavor profile. Be sure to use room temperature eggs for better incorporation into the batter.
Vanilla Extract
Vanilla extract is a flavor enhancer that elevates the overall taste of the cake. It adds a warm and sweet aroma that pairs beautifully with the strawberries, creating a harmonious blend of flavors.
Lemon Zest
Adding lemon zest introduces brightness and a fresh aroma to the cake. The citrus notes complement the sweetness of the strawberries and provide a lovely contrast that enlivens the palate.
Strawberries
Fresh strawberries are the star of this dessert, providing natural sweetness and vibrant color. When selecting strawberries, look for ones that are bright red, firm, and fragrant. Using seasonal berries will guarantee the best flavor and freshness.
Heavy Whipping Cream
Heavy whipping cream is essential for creating the dreamy frosting that adorns this cake. When whipped, it becomes light and fluffy, providing a luxurious texture that pairs perfectly with the cake layers.
Powdered Sugar
Powdered sugar is used to sweeten the whipped cream frosting while also stabilizing it. This ensures that the frosting maintains its shape and doesn’t weep or deflate, allowing for beautiful presentation.
Preparing Your Kitchen
Before diving into the baking process, it’s essential to prepare your kitchen for success. Having the right tools and equipment on hand will streamline the process and make baking a more enjoyable experience. Here’s what you’ll need:
– Mixing Bowls: A set of mixing bowls in various sizes is crucial for combining your ingredients efficiently.
– Electric Mixer: An electric mixer (stand or hand-held) will help you achieve the desired texture for your batter and whipped cream frosting.
– Spatula: A rubber spatula is perfect for folding ingredients together and scraping down the sides of your mixing bowls.
– Measuring Cups and Spoons: Accurate measurements are key to successful baking, so ensure you have a set of dry and liquid measuring cups, as well as measuring spoons.
– Two 9-Inch Round Cake Pans: These pans will hold the batter as it bakes into the perfect cake layers.
– Wire Racks: Cooling racks allow the cakes to cool evenly, preventing sogginess and ensuring the best texture.
Importance of Kitchen Organization
A well-organized kitchen is the foundation for a smooth baking experience. Before you begin, take a moment to gather all your ingredients and tools. This will help you avoid any last-minute searches for items and ensure that you have everything ready to go. Additionally, pre-measuring your ingredients can save time and help maintain focus as you bake.
Step-by-Step Instructions
Preheating the Oven
One of the first steps in baking any cake is preheating your oven. This is a crucial step that shouldn’t be overlooked. Preheating ensures that your cake bakes evenly and rises properly from the moment it goes in the oven. Set your oven to 350°F (175°C) and allow it to preheat while you prepare the batter. This way, your cake will start cooking at the right temperature, resulting in a beautifully risen and evenly baked cake.
Now that you have a clear understanding of the ingredients, tools, and the importance of preheating your oven, you’re ready to embark on the delightful journey of creating your Strawberry Dream Cream Cake. In the next section, we will guide you through the detailed step-by-step instructions, ensuring that your cake turns out perfectly every time. Stay tuned for an exciting baking adventure!
{{image_1}}
Mixing Dry Ingredients: Achieving the Perfect Blend for Even Texture
To start off your Strawberry Dream Cream Cake, it’s essential to mix your dry ingredients properly. This step is crucial for achieving an even texture throughout the cake. Begin by sifting together all-purpose flour, baking powder, and salt in a medium bowl. Sifting not only removes any lumps but also aerates the flour, resulting in a lighter cake. Once sifted, whisk the dry ingredients together thoroughly to ensure they are well combined. This step is important for distributing the leavening agents, which will help your cake rise evenly while baking.
Creaming Butter and Sugar: Technique for Incorporating Air
In a separate large mixing bowl, it’s time to cream the butter and sugar together. Using room temperature unsalted butter, beat it using an electric mixer at medium speed until the mixture turns pale and fluffy, which usually takes about 3 to 5 minutes. This process is vital because it incorporates air into the batter, contributing to the cake’s light and airy texture. Gradually add granulated sugar while continuing to beat the mixture until it becomes creamy. Avoid rushing this step; the fluffier the mixture, the better your cake will rise.
Adding Wet Ingredients: Ensuring a Smooth Batter
Once your butter and sugar mixture is fluffy and well combined, it’s time to add the wet ingredients. Crack in your eggs one at a time, ensuring that each egg is fully incorporated before adding the next. You can also add vanilla extract for an extra layer of flavor. After the eggs, incorporate your milk gradually. It’s best to use room temperature ingredients, as they blend more seamlessly into the batter, resulting in a smoother mixture. Mix just until the wet ingredients are combined; overmixing can lead to a denser cake.
Combining Wet and Dry: Tips for Preventing Overmixing
Now comes the moment of combining your wet and dry ingredients. This step requires finesse; overmixing can develop the gluten in the flour, leading to a tough cake. Begin by adding about one-third of the dry mixture to the wet batter. Gently fold the ingredients together using a spatula or wooden spoon, taking care not to overwork the batter. Alternate adding the dry ingredients with the remaining milk until everything is just combined. The key is to mix until you no longer see dry flour; a few lumps are perfectly fine.
Baking: Key Indicators for Doneness
Preheat your oven to 350°F (175°C) and prepare your cake pans by greasing them and lining them with parchment paper. Divide your batter evenly between the prepared pans and smooth the tops with a spatula. Bake the cakes for 25 to 30 minutes, or until a toothpick inserted in the center comes out clean. Keep an eye on them during the last few minutes of baking. If the tops begin to brown too quickly, you can loosely cover them with aluminum foil. Once done, remove the cakes from the oven and let them cool in the pans for about 10 minutes before transferring them to a wire rack to cool completely.
Cooling the Cakes: Why It’s Crucial for Assembly
Cooling your cakes is a crucial step that should not be skipped. Allowing them to cool completely helps to firm up the structure, making it easier to handle during assembly. If the cakes are still warm, the whipped cream filling can melt, creating a messy assembly. Once they have cooled on the wire rack, you can carefully peel off the parchment paper and place the cakes back on the rack or on a serving platter.
Creating the Strawberry Filling
The Process of Macerating Strawberries: Enhancing Natural Flavors
While your cakes cool, it’s time to prepare the strawberry filling. Start by washing and hulling fresh strawberries. Cut them into slices and place them in a mixing bowl. To enhance their natural sweetness and flavor, sprinkle the strawberries with a little sugar and a splash of lemon juice. This process, known as maceration, allows the strawberries to release their juices while softening and sweetening them at the same time. Let the strawberries sit at room temperature for about 30 minutes. The juices will create a delicious syrup that will soak into your cake layers.
The Importance of Timing: Allowing Strawberries to Rest and Release Juices
Timing is essential when it comes to macerating your strawberries. Allowing them to rest for the full 30 minutes ensures that they develop a syrupy consistency. You can adjust the timing based on your preference for sweetness. If you prefer a less sweet filling, you may want to reduce the sugar slightly or shorten the maceration time. However, allowing them to rest enhances their flavor and prepares them for the cake assembly.
Whipping the Cream
Techniques for Achieving Stiff Peaks
While the strawberries are macerating, it’s the perfect time to whip the cream. Use a chilled mixing bowl and beaters for best results. Pour in heavy whipping cream and begin beating on medium speed. Gradually add powdered sugar to sweeten the cream, and a splash of vanilla extract for flavor. Continue whipping until stiff peaks form. Be cautious not to overwhip, as this can turn the cream into butter. It’s important to stop whipping as soon as the cream holds its shape, creating a lovely, fluffy consistency that will serve as both the filling and frosting of your cake.
The Role of Whipped Cream as Both Filling and Frosting
The beauty of whipped cream in this recipe lies in its versatility. It not only acts as a filling between the layers of your cake but also serves as the frosting that covers the exterior. This creates a harmonious balance of flavors and textures, complementing the fresh strawberry filling beautifully. The lightness of the whipped cream pairs perfectly with the moist cake and juicy strawberries, making every bite a delightful experience.
Assembling the Strawberry Dream Cream Cake
Layering Techniques for Visual Appeal and Flavor Balance
Now that you have all your components ready—cooled cakes, macerated strawberries, and whipped cream—it’s time to assemble your Strawberry Dream Cream Cake. Start by placing one cake layer on a serving platter. Spread a generous layer of whipped cream on top of the first cake layer, followed by a layer of the macerated strawberries. Be sure to include some of the delicious syrup that has formed from the strawberries for added flavor.
Next, gently place the second layer of cake on top. Repeat the process by spreading more whipped cream and adding another layer of strawberries. Finally, place the third layer on top and cover the entire cake with the remaining whipped cream. Use a spatula or a palette knife to smooth the whipped cream for an elegant finish. If you like, you can create decorative swirls or peaks with the whipped cream for added flair.
Tips for Spreading Whipped Cream Evenly
When spreading the whipped cream, it’s essential to work gently to avoid tearing the cake layers. A small offset spatula is perfect for this task, allowing you to spread the cream smoothly. If you find the whipped cream difficult to spread, you can chill it for a few minutes to firm it up slightly. Remember, a well-assembled cake not only tastes great but also looks appealing, so take your time to achieve an even layer of cream.
Importance of Chilling Before Serving: Setting the Whipped Cream
After assembling your cake, it’s important to chill it in the refrigerator for at least 30 minutes before serving. This resting period allows the flavors to meld together and helps the whipped cream set. Chilling also makes slicing the cake easier, resulting in cleaner cuts and a more polished presentation.
Garnishing Your Cake
Creative Ideas for Decoration: Sliced Strawberries and Mint Leaves
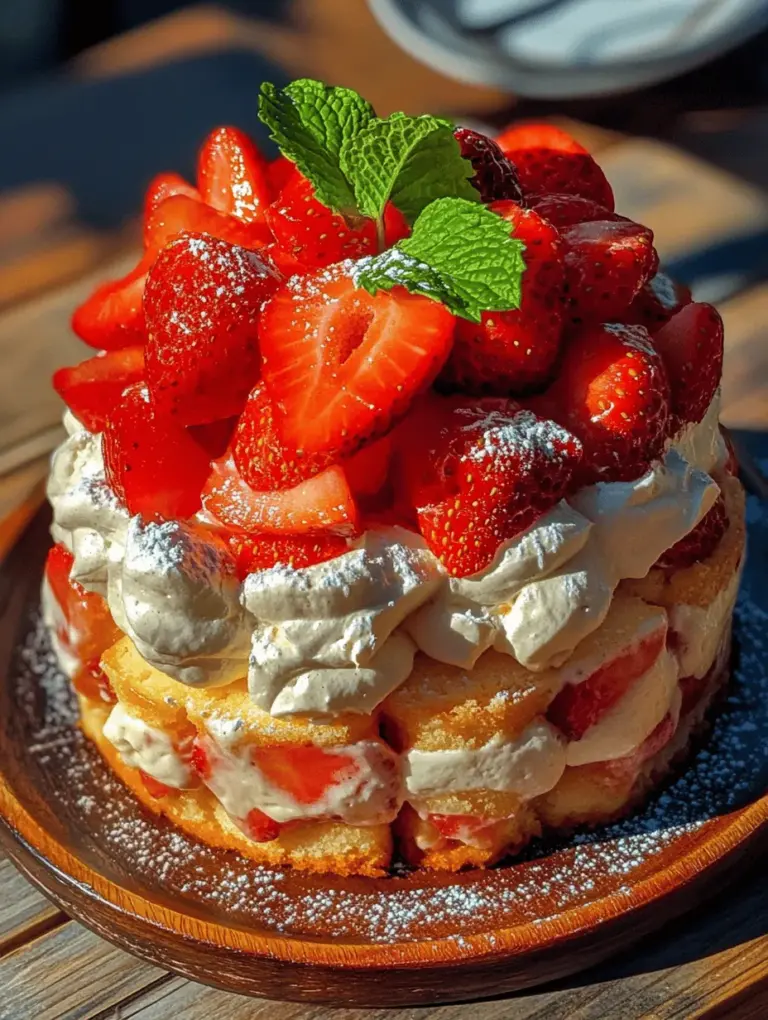
Once your cake has chilled, it’s time to add the finishing touches. Garnishing not only enhances the visual appeal but also adds an extra dimension of flavor. Consider decorating the top of your cake with fresh sliced strawberries arranged in a circular pattern. You can also add a few mint leaves for a pop of color and a refreshing hint of flavor. For an extra touch, a light dusting of powdered sugar can give the cake an elegant, finished look.
The Visual Impact of Garnishing on Presentation
Presentation is key when it comes to cakes, and garnishing plays a huge role in that. A well-garnished cake is more inviting and can elevate the overall dining experience. The vibrant red of the strawberries against the fluffy white whipped cream creates a striking contrast, making your Strawberry Dream Cream Cake not only delicious but also visually stunning.
Serving Suggestions
Ideal Occasions for Serving Strawberry Dream Cream Cake
The Strawberry Dream Cream Cake is perfect for a variety of occasions, from birthday parties to summer picnics. Its light and refreshing flavor make it a wonderful dessert for warm-weather gatherings. It can also be served during holidays like Mother’s Day or Valentine’s Day, where the romantic and vibrant color of strawberries can set the mood for celebration.
Pairing Suggestions: Beverages that Complement the Cake
When it comes to pairing beverages with your cake, consider serving it with a glass of iced tea, sparkling water, or a refreshing lemonade. For those who prefer something a little stronger, a light rosé wine can complement the sweet strawberries beautifully. The key is to choose drinks that will enhance the cake without overpowering its delicate flavors.
Conclusion
Creating a Strawberry Dream Cream Cake is not just about following a recipe; it’s about enjoying the process of baking and the joy of sharing your creation with loved ones. The light, airy cake layered with fresh strawberries and whipped cream is a delightful treat that speaks to the beauty of seasonal ingredients. Whether you’re celebrating a special occasion or simply indulging in a sweet moment, this cake is sure to bring smiles and satisfaction to everyone who savors it.
As you embark on your baking journey, don’t hesitate to experiment with flavors and presentations. Baking is not just a skill but a form of creativity and expression. So, roll up your sleeves, gather your ingredients, and create your own Strawberry Dream Cream Cake. Share it with friends and family, and relish the joy that comes from making something delicious from scratch. Happy baking!