Introduction
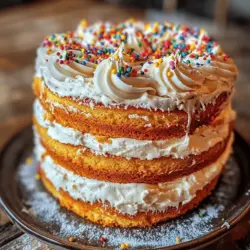
The classic vanilla cake is a beloved staple in the world of baking, celebrated for its simplicity and versatility. This timeless dessert has graced birthday parties, weddings, and countless family gatherings, making it a cherished choice for bakers and dessert lovers alike. Its soft, fluffy texture and subtle vanilla flavor create a perfect canvas for various frostings, fillings, and decorations, allowing it to shine on any occasion.
What sets this particular recipe apart from others is its meticulous attention to detail and the balance of flavors that results in a cake that is as moist as it is delicious. Whether you’re an experienced baker or a newcomer to the kitchen, this recipe will guide you through each step, ensuring that you achieve the perfect classic vanilla cake every time.
In this article, we will delve into the history and origins of vanilla cake, explore why it remains a favorite among many, and provide you with a comprehensive list of ingredients along with their roles in the baking process. We will also guide you through step-by-step instructions to help you master this classic recipe, along with tips for success and serving suggestions that will impress your family and friends.
Understanding Classic Vanilla Cake
History and Origins of Vanilla Cake
The roots of vanilla cake trace back to the late 19th century when cake-making began to evolve thanks to advances in baking technology and the availability of new ingredients. The introduction of baking powder as a leavening agent revolutionized the way cakes were made, allowing for a lighter and fluffier texture. Vanilla, a prized flavor derived from orchid pods, was introduced to the dessert world, adding a fragrant sweetness that perfectly complemented the simple cake base.
Culturally, vanilla cake has held a significant place in various celebrations. It is often the centerpiece of birthday parties, a symbol of joy and festivity. In many cultures, it has become a tradition to serve vanilla cake at weddings, anniversaries, and other important milestones, reinforcing its status as a go-to dessert for special occasions.
Why Vanilla Cake is a Favorite
Vanilla cake’s appeal lies in its versatility. It can be dressed up or down to suit any occasion—whether topped with a rich chocolate ganache for an indulgent dessert or lightly frosted with whipped cream and fresh berries for a refreshing summer treat. Its flavor profile makes it a favorite for all ages, from children who revel in its sweetness to adults who appreciate its subtlety.
In addition to its culinary versatility, vanilla cake is a blank slate for creativity in the kitchen. Bakers can experiment with different fillings, frostings, and toppings, making it a superb base for a multitude of flavor combinations. The classic vanilla cake has transcended regional cuisines and is now a staple in bakeries around the world, solidifying its place as a beloved dessert.
Key Ingredients for the Best Classic Vanilla Cake
Breakdown of Ingredients
To achieve the best classic vanilla cake, it is essential to understand the role of each ingredient. Here’s a closer look at the key components that contribute to the cake’s delightful texture and flavor:
– All-Purpose Flour: The backbone of the cake, all-purpose flour provides structure. Its moderate protein content allows for a tender crumb while still offering enough strength to support the cake.
– Granulated Sugar: Sugar not only sweetens the cake but also aids in moisture retention and contributes to the cake’s lightness when creamed with butter.
– Unsalted Butter: Butter adds richness and flavor while also helping to create a tender texture. Using unsalted butter allows for better control over the salt content in the recipe.
– Whole Milk: Milk hydrates the dry ingredients and adds moisture to the cake. Whole milk, with its fat content, further enriches the cake, contributing to a luscious mouthfeel.
– Eggs: Eggs bind the ingredients together and provide structure and stability. They also contribute to the cake’s moisture and richness.
– Baking Powder and Baking Soda: These leavening agents create the lift necessary for the cake to rise, resulting in a light and airy texture.
– Salt: A small amount of salt enhances the flavor of the cake, balancing the sweetness and highlighting the vanilla.
– Pure Vanilla Extract: The star of the show, pure vanilla extract infuses the cake with a rich, aromatic flavor that elevates the overall taste.
Importance of Quality Ingredients
The quality of ingredients you use directly affects the final outcome of your vanilla cake. For instance, using high-quality unsalted butter can significantly enhance the flavor and texture, while pure vanilla extract (as opposed to imitation vanilla) will provide a depth of flavor that you simply cannot achieve with synthetic alternatives.
When selecting ingredients, look for brands that prioritize quality. For butter, choose a product that contains at least 80% fat for the best results. When it comes to vanilla, opt for pure extract rather than imitation—it may be more expensive, but the superior flavor is well worth the investment.
Step-by-Step Instructions for Baking the Perfect Vanilla Cake
Preheating and Preparing the Oven
Before you start mixing your ingredients, it’s crucial to preheat your oven to 350°F (175°C). Preheating ensures that your cake bakes evenly and rises properly. While the oven is warming up, prepare your cake pans by greasing them with butter or non-stick spray and lightly dusting them with flour. This will help prevent the cake from sticking and ensure a smooth release after baking.
Mixing Dry Ingredients
One of the first steps in making your classic vanilla cake is to combine the dry ingredients. In a medium bowl, whisk together the all-purpose flour, baking powder, baking soda, and salt. This step is essential for a few reasons:
1. Even Distribution: Whisking the dry ingredients together ensures that the leavening agents (baking powder and baking soda) are evenly distributed throughout the flour. This helps the cake to rise uniformly.
2. Aeration: Whisking introduces air into the dry ingredients, which can contribute to a lighter cake texture.
3. Preventing Clumps: Mixing the dry ingredients in a separate bowl helps to break up any clumps, especially in the flour and baking powder, leading to a smoother batter.
Once your dry ingredients are thoroughly combined, set them aside as you move on to the next steps in your vanilla cake journey.
—
This introduction sets the stage for a detailed exploration of creating the best classic vanilla cake, from its rich history to the essential ingredients that make it a favorite. The following sections will delve into the remaining steps, tips for achieving the best results, and serving suggestions that make this timeless recipe an essential part of any baker’s repertoire.
{{image_1}}
Creaming Butter and Sugar
The process of creaming butter and sugar is where the magic of a classic vanilla cake begins. This essential step creates a light and airy base that contributes to the cake’s fluffy texture. Start with room-temperature butter—this is crucial, as cold butter won’t incorporate well with sugar. Use a stand mixer fitted with the paddle attachment or a hand mixer to beat the butter until it becomes pale and fluffy, about 3-5 minutes. Gradually add the granulated sugar, continuing to beat until the mixture is light and fluffy. This process introduces air into the batter, resulting in a tender crumb when baked.
Achieving the Right Texture and Fluffiness
To achieve the perfect creamed mixture, ensure that no sugar granules remain visible. The mixture should look smooth and slightly expanded, signifying that enough air has been incorporated. If your butter is too soft or melted, the cake may turn out dense. On the other hand, if it’s too firm, the sugar won’t incorporate properly. Patience is key—take your time with this step to set the foundation for a delightful vanilla cake.
Incorporating Eggs and Vanilla
Once your butter and sugar are creamed to perfection, it’s time to incorporate the eggs and vanilla extract. Adding eggs one at a time is essential for proper emulsification. This means that each egg should be fully incorporated before adding the next. This method helps create a stable batter that traps air, contributing to the cake’s rise and texture.
The Importance of Adding Eggs One at a Time
When you add the first egg, mix on medium speed until you no longer see any streaks of yellow yolk. Repeat the process for each egg. After the last egg, add in the vanilla extract. The warmth of the mixture will enhance the flavor and aroma of the vanilla, making your cake irresistible. Remember that using high-quality vanilla extract is crucial—it will significantly impact the overall flavor of your cake.
Combining Wet and Dry Ingredients
Now that your wet ingredients are ready, it’s time to combine them with the dry ingredients. In a separate bowl, whisk together the all-purpose flour, baking powder, and salt. This ensures even distribution of the leavening agent and salt throughout the flour.
Tips for Mixing to Avoid Overmixing
When combining the wet and dry ingredients, alternate between adding the dry ingredients and the milk. Start with the dry ingredients, then add a third of the milk, followed by another third of the dry ingredients, and so on. Mix just until combined after each addition. Overmixing can lead to a dense cake, so stop mixing as soon as there are no visible flour streaks. The batter should be thick yet pourable, with a silky texture that promises a delightful cake.
Baking the Cake
With the batter ready, preheat your oven to 350°F (175°C). Grease and flour two 9-inch round cake pans to ensure easy release after baking. Pour the batter evenly into each pan and smooth the tops with a spatula.
Signs to Look For to Know When the Cake is Done
Bake the cakes for about 25-30 minutes, or until a toothpick inserted into the center comes out clean or with a few moist crumbs. The cakes should also spring back when gently pressed in the center. Avoid opening the oven door too early, as this can cause the cakes to collapse. Once done, remove the pans from the oven and let them cool for 10 minutes before transferring the cakes to a wire rack to cool completely.
Cooling the Cakes
Proper cooling is crucial for frosting and presentation. Allow the cakes to cool in the pans for about 10 minutes, then gently run a knife around the edges to loosen them. Turn the cakes out onto the wire rack to cool completely. If the cakes are not cooled properly, the frosting will melt and slide right off, ruining your beautiful creation. Cooling also helps the cake set, ensuring it holds its shape when you frost and slice it.
Making the Frosting: A Key Component
A classic vanilla cake wouldn’t be complete without a rich and creamy frosting. Vanilla buttercream is the perfect complement, providing sweetness and a creamy texture that enhances the cake’s flavor.
Ingredients for Frosting
To prepare the vanilla buttercream frosting, you will need:
– 1 cup (2 sticks) unsalted butter, softened to room temperature
– 4 cups powdered sugar, sifted
– 1-2 tablespoons heavy cream or milk
– 2 teaspoons pure vanilla extract
– A pinch of salt (to balance the sweetness)
Step-by-Step Frosting Instructions
1. In a large mixing bowl, beat the softened butter with an electric mixer on medium speed until creamy, about 2-3 minutes.
2. Gradually add the sifted powdered sugar, mixing on low speed to avoid a sugar cloud. Once incorporated, increase the speed to medium and beat until light and fluffy.
3. Add the vanilla extract and a pinch of salt, mixing until well combined.
4. If the frosting is too thick, add heavy cream or milk, one tablespoon at a time, until you reach your desired consistency. If it’s too thin, add more powdered sugar until it’s thick enough to spread.
Techniques for Achieving the Perfect Creamy Consistency
The key to achieving a perfectly creamy frosting is to ensure your butter is at room temperature. This allows for easy blending and prevents a gritty texture. If your frosting is too soft, refrigerate it for a few minutes before using; if it’s too stiff, add a little cream or milk to loosen it up.
Assembling and Decorating the Vanilla Cake
With your cakes cooled and frosting prepared, it’s time to assemble and decorate your classic vanilla cake.
Layering the Cake
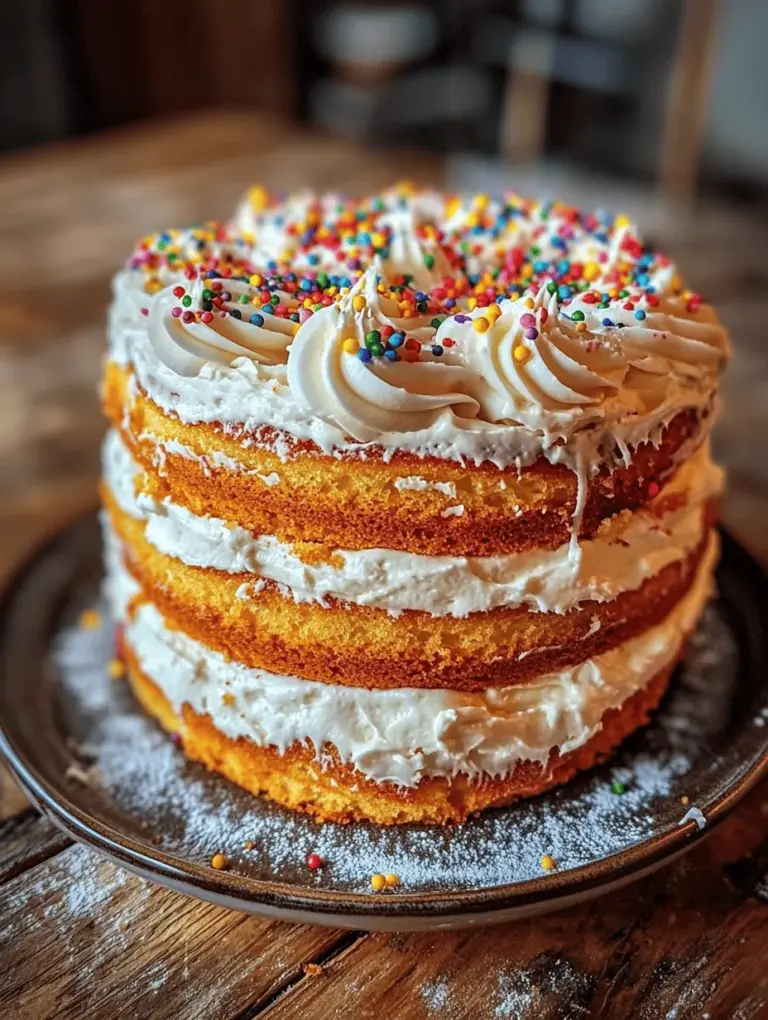
First, place one cake layer on a serving plate or a cake stand. To ensure a professional finish, use a serrated knife to level the top of the cake if it has domed during baking. Spread a generous layer of frosting evenly over the top of the first layer. Place the second layer on top and press down gently.
Frosting Techniques
Using an offset spatula, apply a thin layer of frosting around the sides and on top of the cake to create a crumb coat. This layer helps seal in any loose crumbs and provides a smooth surface for the final coat of frosting. Chill the cake for about 30 minutes to set the crumb coat, then apply a thicker layer of frosting over the entire cake. Use the spatula to create a smooth finish or decorative swirls.
Creative Decoration Ideas
To enhance the appearance of your cake, consider adding sprinkles, fresh fruit, or chocolate shavings on top. Edible flowers can add a beautiful touch, making your cake a stunning centerpiece for any occasion. For a more elegant look, consider piping decorative borders or rosettes along the edges of the cake.
Serving Suggestions and Pairings
A classic vanilla cake is versatile and suitable for a variety of occasions.
Ideal Occasions for Serving Vanilla Cake
This cake shines at birthdays, weddings, anniversaries, and casual gatherings with family and friends. Its simple yet delightful flavor makes it a crowd-pleaser that fits any celebration, from intimate dinners to grand parties.
Beverage Pairings
When it comes to pairing beverages with your vanilla cake, consider options that complement its sweet and creamy flavors. Freshly brewed coffee enhances the cake’s richness, while a cup of tea offers a lighter contrast. For a nostalgic pairing, serve a glass of cold milk, which balances the sweetness beautifully.
Conclusion
In summary, making the best classic vanilla cake is an enjoyable and rewarding experience. From creaming the butter and sugar to assembling and decorating, each step contributes to the creation of a delicious treat that brings joy to any occasion. The simple ingredients and straightforward techniques make this recipe accessible for bakers of all skill levels.
We encourage you to try this recipe at home and celebrate the joy of baking. The timeless nature of vanilla cake means it will always have a special place in the hearts of those who enjoy it, bringing friends and family together over delicious slices of homemade goodness. So gather your ingredients, preheat your oven, and embrace the wonderful world of baking!