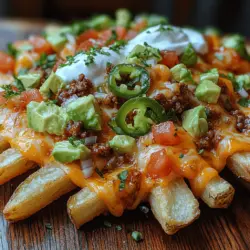
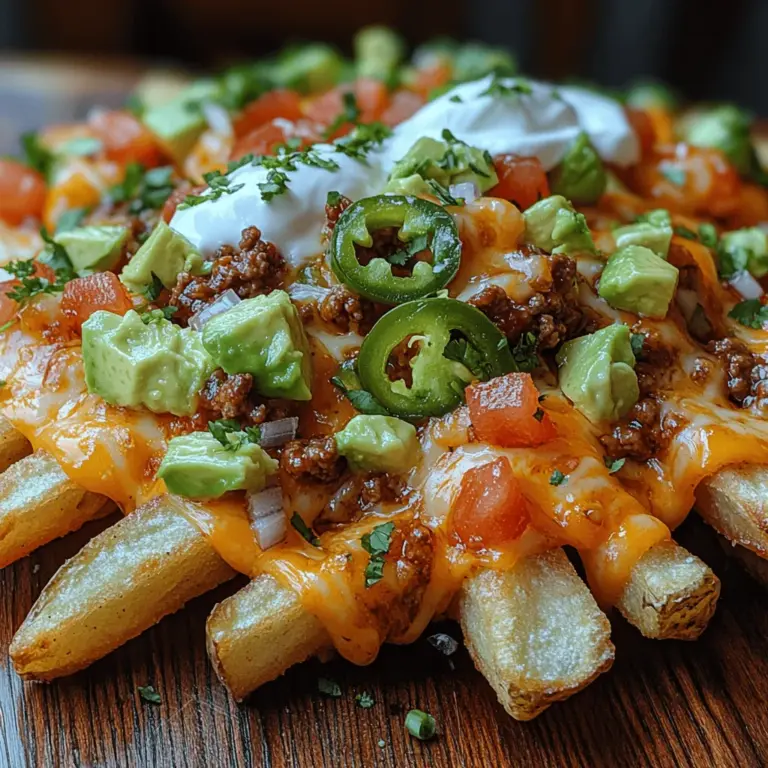
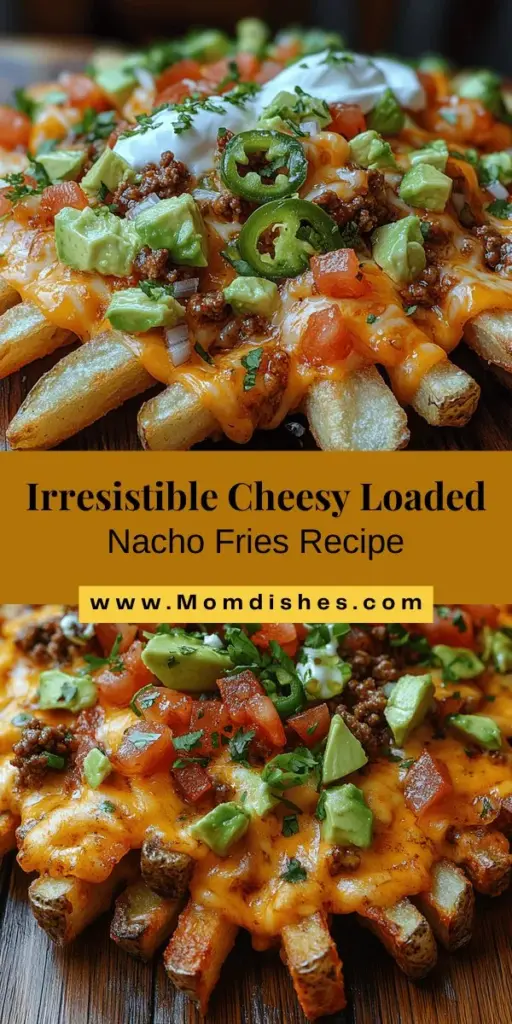
In the world of comfort food, few dishes can truly rival the indulgence and excitement of Ultimate Cheesy Loaded Nacho Fries. Perfect for game day, movie nights, or casual gatherings with friends, this dish combines the satisfying crunch of crispy fries with an array of mouthwatering toppings that cater to every palate. Whether you’re a cheese lover, a fan of zesty flavors, or simply someone looking to elevate your snacking experience, this recipe promises a delightful culinary adventure.
Understanding the Components of Ultimate Cheesy Loaded Nacho Fries
The foundation of this delectable dish lies in its main components: the fries and the toppings. Each element plays a crucial role in delivering that perfect balance of flavors and textures. From the base of golden fries to the rich and gooey cheese sauce, each layer adds depth and character to the final presentation.
Exploring the Fries: Fresh vs. Frozen
When it comes to choosing the perfect fries for your nacho masterpiece, you have two primary options: fresh russet potatoes or frozen fries. Each choice has its advantages and disadvantages, influencing not only the flavor but also the texture of your ultimate cheesy loaded nacho fries.
Characteristics of Russet Potatoes
Russet potatoes are often hailed as the gold standard for making fries. Known for their high starch content, they yield a light and fluffy interior while maintaining a crisp exterior when cooked properly. Their elongated shape and thick skin make them ideal for cutting into hearty fry shapes that can hold up against generously loaded toppings.
When preparing fresh russet potatoes, you can control every aspect of the cooking process, from the thickness of the cut to the seasoning used. This level of control allows for customization that frozen varieties simply cannot match. However, the downside is that using fresh potatoes requires more time and effort. You’ll need to wash, peel (if desired), cut, and season them before cooking.
Benefits of Using Frozen Fries
On the other hand, frozen fries provide unmatched convenience and consistency. Pre-cut and pre-cooked, they save you valuable time in the kitchen, making them a popular choice for busy cooks or last-minute gatherings. Many brands offer a variety of styles, from crinkle-cut to steak fries, each designed to provide a satisfying crunch.
While frozen fries may lack the customizable aspects of fresh potatoes, they are often designed specifically for optimal frying or baking results. This means you can still achieve a satisfying texture and taste with minimal effort. Additionally, many frozen fries are seasoned, which can enhance the overall flavor of your ultimate cheesy loaded nacho fries.
Preparing the Fries: Techniques for Perfect Crispiness
Achieving the ideal fry texture is an art that requires attention to detail and proper techniques. Whether you decide to go the fresh route or opt for frozen, there are best practices to ensure that your fries come out crispy on the outside and fluffy on the inside.
Washing and Cutting Fresh Potatoes
If you choose to use fresh russet potatoes, start by thoroughly washing them to remove any dirt or impurities. For a classic fry shape, peel the potatoes if desired, then cut them into uniform sticks. Aim for about 1/4 inch thickness to ensure even cooking. A consistent cut helps each fry cook at the same rate, preventing some from becoming overcooked while others remain underdone.
Seasoning Techniques
Once your fries are cut, it’s time to season them for maximum flavor. Start by soaking the cut fries in cold water for about 30 minutes. This step helps to remove excess starch, which can lead to soggy fries. After soaking, drain and pat them dry with paper towels to eliminate moisture.
Next, drizzle the fries with olive oil. This key ingredient not only adds flavor but also helps achieve that coveted crispiness. The oil creates a barrier that prevents moisture from escaping during cooking, resulting in a crunchy exterior.
For seasoning, garlic powder and paprika are excellent choices. Garlic powder adds a savory depth, while paprika contributes a subtle smokiness and a beautiful color. Toss the fries in a bowl with the olive oil and seasonings, ensuring each fry is evenly coated.
The Science Behind Seasoning
The right seasoning is crucial for enhancing the flavor of your fries. Here’s a closer look at two important components that can elevate your dish:
Importance of Olive Oil for Crispiness
Olive oil serves as more than just a flavor enhancer; it plays a significant role in achieving that perfect crispy texture. The fat content in olive oil allows the fries to fry rather than steam during the cooking process. When coated evenly, the oil helps create a barrier that locks in moisture while promoting browning and crisping on the outside.
Choosing high-quality olive oil can also add a rich flavor profile to your fries, enhancing the overall taste of your Ultimate Cheesy Loaded Nacho Fries.
Spices That Elevate Flavor: Garlic Powder and Paprika
Garlic powder is a fantastic seasoning for fries, imparting a warm and savory flavor that complements the rich cheese and toppings in the nacho dish. It’s a versatile spice that pairs well with almost any fry preparation, making it a staple in many kitchens.
Paprika, especially smoked paprika, adds a unique depth of flavor and a beautiful reddish hue to the fries. Its mild heat and earthy undertones can elevate the overall taste profile, making your loaded nacho fries even more enticing.
Baking the Fries to Perfection
After preparing the fries, the next step is to bake them to achieve that golden-brown finish that everyone craves. Baking is an excellent method for cooking fries as it allows for even heat distribution, resulting in a crispy texture without excessive oil.
Temperature Settings
For perfectly baked fries, preheat your oven to 425°F (220°C). This high temperature is essential for achieving that desired crispiness. The heat will cause the moisture within the fries to evaporate quickly, helping them to brown and crisp up nicely.
Timing for Optimal Crispiness
The cooking time can vary based on the thickness of your fries and whether you’re using fresh or frozen varieties. For fresh fries, bake them for 30 to 35 minutes, flipping halfway through to ensure even cooking. Keep an eye on them in the last few minutes; you want them to be golden brown and crispy without burning.
For frozen fries, follow the package instructions as different brands may have varying cooking times. Generally, they should take about 20 to 25 minutes, again flipping halfway through for optimal crispiness.
The Art of Layering: Crafting the Perfect Nacho Fries
Once your fries are perfectly baked and ready to go, it’s time to layer on the toppings and create your Ultimate Cheesy Loaded Nacho Fries. The art of layering is essential for ensuring that every bite is packed with flavor and texture.
Start by placing a generous layer of fries on a serving platter or a baking sheet. Next, drizzle a rich cheese sauce over the fries. This could be a homemade cheese sauce or a store-bought option, depending on your preference. The cheese should be melted and gooey, enveloping the fries in a creamy embrace.
After the cheese, the fun truly begins! Add your favorite toppings, such as diced tomatoes, jalapeños, black olives, green onions, and sour cream. Each ingredient adds its own unique flavor and texture, creating a symphony of tastes that will have everyone reaching for more.
By following these steps and understanding the components that make up Ultimate Cheesy Loaded Nacho Fries, you’ll be well on your way to creating a dish that’s not only delicious but also memorable. As we continue, we will delve deeper into the toppings and additional enhancements that can take your nacho fries to the next level. Stay tuned for more delicious details!
{{image_1}}
Layering the Toppings for Ultimate Flavor
Once your fries are perfectly crispy and golden brown, it’s time to elevate them to the next level with a variety of toppings. Proper layering is crucial for achieving maximum flavor and visual appeal, ensuring each bite is packed with deliciousness.
Choosing the Right Cheeses for Melting
When it comes to nacho fries, the choice of cheese can make all the difference. Two of the best options for melting are Cheddar and Monterey Jack, each offering unique flavors and textures.
– Cheddar: Known for its sharp, tangy flavor, cheddar cheese creates a rich and satisfying taste that pairs well with the salty fries. Opt for a medium or sharp cheddar for a more intense flavor profile.
– Monterey Jack: This cheese is milder and creamier, making it an excellent choice for achieving that perfect cheese pull. Its smooth melting quality allows it to blend seamlessly with other toppings.
Tips for Achieving the Perfect Cheese Pull:
1. Blend Cheeses: Combine equal parts of cheddar and Monterey Jack for a well-rounded flavor and excellent meltability.
2. Shred Your Cheese: Always use freshly shredded cheese rather than pre-packaged shreds. The anti-caking agents in pre-shredded cheese can prevent it from melting smoothly.
3. Layer Generously: Don’t skimp on cheese. A generous layer not only enhances flavor but also ensures that every fry is covered in gooey goodness.
Additional Toppings: Customizing Your Nacho Fries
The toppings you choose can transform your nacho fries into a personalized culinary delight. Here are some delicious options to consider:
– Taco-Seasoned Ground Beef vs. Shredded Chicken:
– Ground beef seasoned with taco spices adds a robust flavor and a satisfying meaty texture. Brown the beef in a skillet and mix in your favorite taco seasoning for a quick and easy topping.
– Shredded chicken is a lighter alternative. You can use rotisserie chicken for convenience or cook your own and dress it with taco spices or BBQ sauce for added flavor.
– The Role of Black Beans:
Black beans are not only a great source of protein and fiber, but they also enhance the flavor of your nacho fries. Rinse and drain canned black beans, then sprinkle them over your loaded fries for an extra layer of texture and nutrition.
– Fresh Ingredients:
Fresh toppings are essential to balance the richness of the cheese and fries. Add diced avocado for creaminess, chopped tomatoes for freshness, and sliced jalapeños for a spicy kick. These ingredients not only add flavor but also color, making your dish more visually appealing.
Returning to the Oven: The Final Melting Process
After layering your toppings, it’s time for the final bake. This step is crucial for melding all the flavors together and ensuring that your cheese is perfectly melted and bubbly.
1. Preheat Your Oven: Set your oven to 400°F (200°C). This temperature is ideal for achieving that golden, bubbly cheese topping without overcooking the fries.
2. Bake the Loaded Fries: Place your topped fries on a baking sheet and pop them into the preheated oven. Bake for about 10-15 minutes, keeping an eye on them to ensure the cheese melts without burning.
3. Broil for Extra Browning: If you desire an extra crispy top, switch to the broiler for the last 2-3 minutes. Watch closely, as this can turn from golden to burnt quickly.
Serving Suggestions: Presenting Your Nacho Fries
Presentation can significantly enhance the dining experience when serving your Ultimate Cheesy Loaded Nacho Fries. Here are some creative serving ideas:
– Serving Directly from the Baking Sheet: For a casual gathering, serve your nacho fries straight from the baking sheet. This style promotes a relaxed atmosphere and encourages guests to dig in at their leisure.
– Garnishing with Fresh Ingredients: Add a pop of color and freshness by garnishing your nacho fries with freshly chopped cilantro, green onions, or even a dollop of sour cream or guacamole on top. These finishing touches not only enhance visual appeal but also add additional flavors.
– Suggested Pairings: To complete your nacho fries experience, consider pairing them with refreshing drinks and dips. A light lager or a zesty margarita complements the rich flavors beautifully. For dips, offer salsa, guacamole, or a creamy ranch dressing for added variety.
Conclusion: Enjoying Your Ultimate Cheesy Loaded Nacho Fries
The Ultimate Cheesy Loaded Nacho Fries is more than just a dish; it’s a delightful experience that brings people together around the table. With the perfect combination of crispy fries, rich cheeses, and customizable toppings, this recipe is sure to impress at any gathering.
By mastering the techniques outlined in this guide—selecting the right cheeses, layering your toppings thoughtfully, and finishing with the perfect bake—you can create a dish that is not only delicious but also tailored to suit your tastes. Whether enjoyed as a snack during game day, at a festive celebration, or as a cozy dinner at home, these nacho fries are guaranteed to spark joy and satisfaction among your friends and family. So gather your loved ones, dig in, and savor every cheesy, flavorful bite of your Ultimate Cheesy Loaded Nacho Fries!


